Quick Start Guide
Get up and running with Conjure in under 5 minutes.
Overview
Conjure connects AI assistants (like Claude) to your CAD software, letting you describe parts in natural language and have them built automatically. This guide will get you creating your first design in minutes.
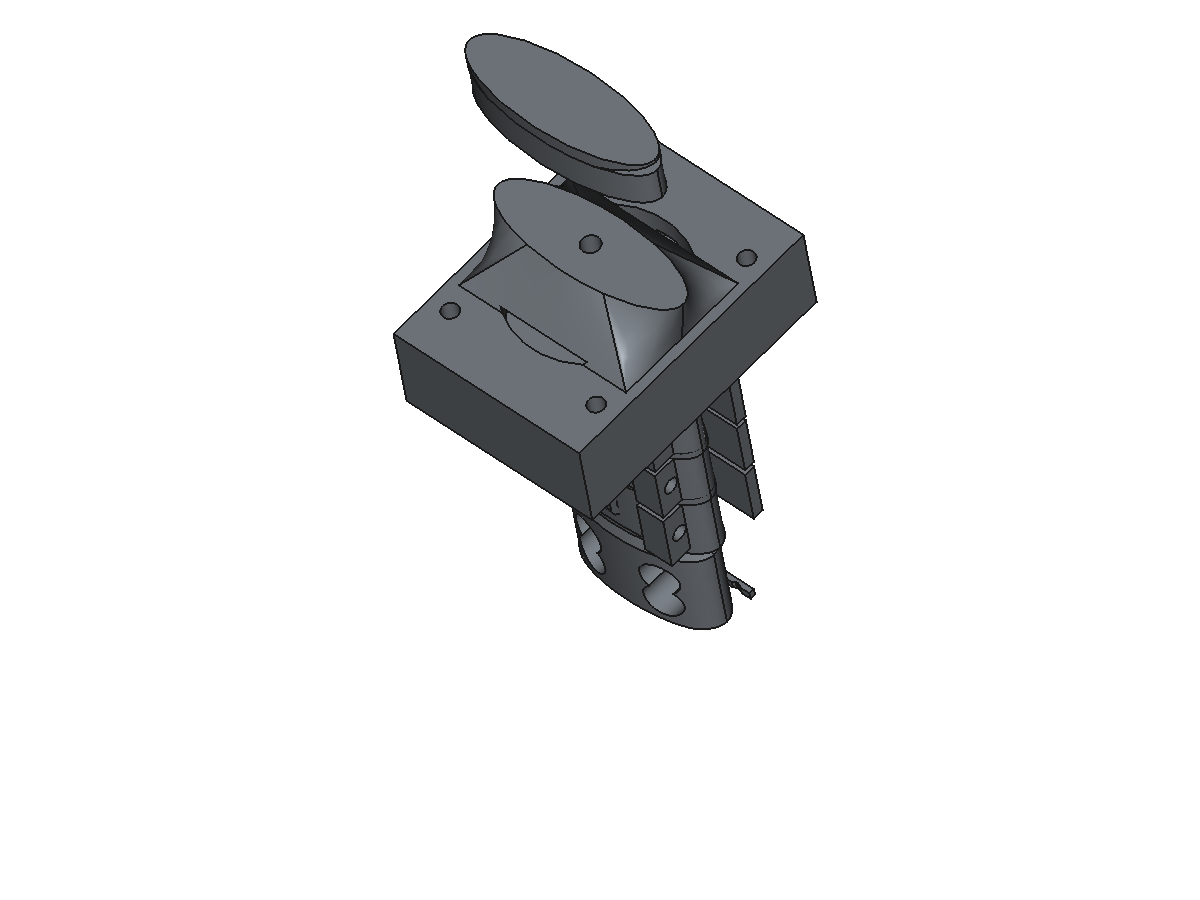
Scissor linkage
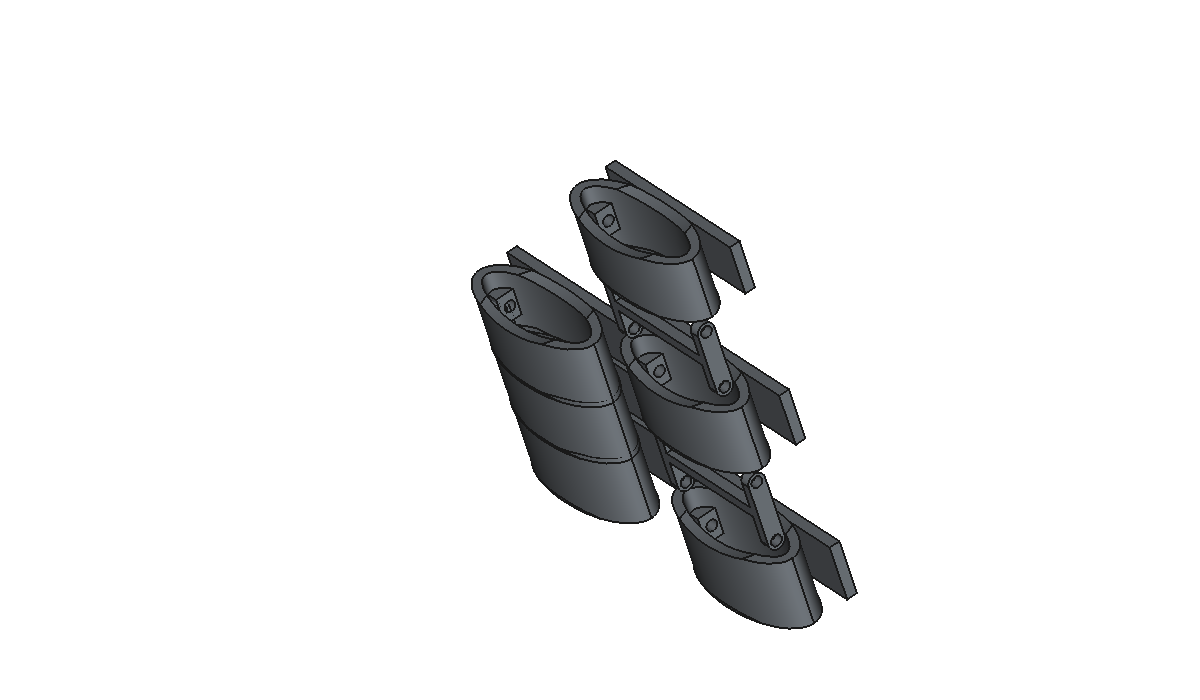
Articulating chain
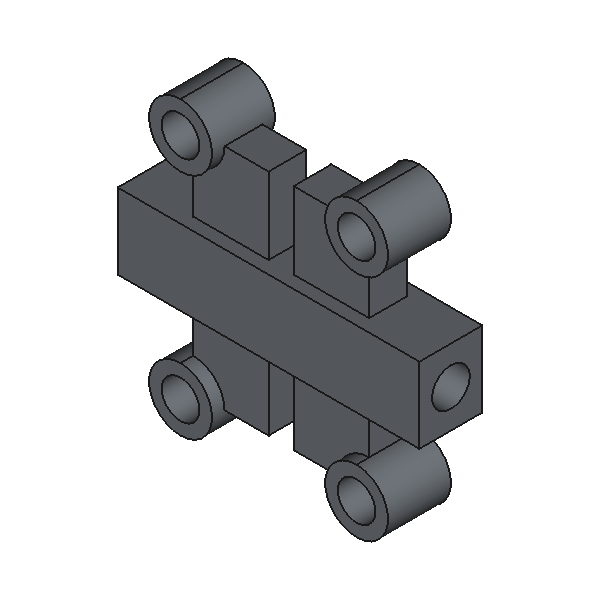
Ball socket joint
Step 1: Get Your API Key
- Sign up for Conjure and choose your tier (free tier available, no credit card required)
- Verify your email address
- Your API key will be shown after verification
- Copy your API key (you'll need it in Steps 3 and 4)
Step 2: Install the Adapter
Choose your CAD software:
FreeCAD
RecommendedQuick install (Linux/macOS):
curl -sSL https://conjure.lautrek.com/install.sh | bashWindows (PowerShell):
iwr -useb https://conjure.lautrek.com/install.ps1 | iexOr download manually and extract to your FreeCAD Mod directory.
Fusion 360
- Download the add-in from Downloads
- In Fusion 360: Tools → Add-Ins → Scripts and Add-Ins
- Click + and select the extracted folder
- Click Run
AutoCAD
Beta- Download the plugin from Downloads
- Extract to
%APPDATA%\Autodesk\ApplicationPlugins - Restart AutoCAD
- Type CONJURE in the command line to activate
Step 3: Connect to Conjure
Activate the adapter in your CAD software:
- Open FreeCAD
- Switch to the Conjure workbench (View → Workbench → Conjure)
- Click Connect in the toolbar
- Paste your API key when prompted
- You should see "Connected" in the status bar
- Click the Conjure button in the toolbar
- Enter your API key
- Click Connect
- Type CONJURE in the command line
- Enter your API key in the dialog
- Click Connect
- The status bar will show "Conjure: Connected"
Step 4: Configure Your AI Assistant
Conjure uses the Model Context Protocol (MCP) to connect with AI assistants. Choose your tool:
Claude Desktop / Claude Code
Add to your Claude MCP configuration file:
- macOS:
~/Library/Application Support/Claude/claude_desktop_config.json - Windows:
%APPDATA%\Claude\claude_desktop_config.json - Linux (Claude Code):
~/.claude.json
{
  "mcpServers": {
    "conjure": {
      "command": "uvx",
      "args": ["conjure-mcp"],
      "env": {
        "CONJURE_API_KEY": "YOUR_API_KEY_HERE"
      }
    }
  }
}
Cursor IDE
Create .cursor/mcp.json in your project root (or ~/.cursor/mcp.json for global):
{
  "mcpServers": {
    "conjure": {
      "command": "uvx",
      "args": ["conjure-mcp"],
      "env": {
        "CONJURE_API_KEY": "YOUR_API_KEY_HERE"
      }
    }
  }
}
Windsurf IDE
Add to ~/.codeium/windsurf/mcp_config.json:
{
  "mcpServers": {
    "conjure": {
      "command": "uvx",
      "args": ["conjure-mcp"],
      "env": {
        "CONJURE_API_KEY": "YOUR_API_KEY_HERE"
      }
    }
  }
}
OpenAI ChatGPT Desktop / Agents SDK
ChatGPT Desktop uses the same MCP config format. For the Agents SDK:
from agents import Agent
from agents.mcp import MCPServerStdio

conjure = MCPServerStdio(
    command="uvx",
    args=["conjure-mcp"],
    env={"CONJURE_API_KEY": "YOUR_API_KEY_HERE"}
)

agent = Agent(name="CAD Assistant", mcp_servers=[conjure])
Replace YOUR_API_KEY_HERE with your API key. Restart your AI tool after saving.
See all CLI tools →
Step 5: Create Your First Design
Now you can use an AI assistant (Claude, ChatGPT, etc.) with Conjure. Here's an example conversation:
# Conjure creates:
1. Box: 50mm x 50mm x 50mm
2. Fillet: 5mm radius on all 12 edges
Try these example prompts:
- "Create a cylinder, 20mm diameter, 40mm tall"
- "Make a phone stand with 60 degree angle"
- "Create a box and cut a 10mm hole through the center"
- "Add an M6 threaded hole to the top face"
Step 6: Export Your Design
When you're happy with your design:
- For 3D printing: "Export as STL"
- For CNC/manufacturing: "Export as STEP"
- For sharing: "Export as 3MF"
Next Steps
Troubleshooting
- Check your internet connection
- Verify your API key is correct
- Make sure you're not behind a restrictive firewall
- Ensure files are in the correct Mod directory
- Restart FreeCAD completely
- Check View → Workbenches menu
- Verify connection status shows "Connected"
- Check you haven't exceeded your operation limit
- Try reconnecting
Still stuck? Open an issue or ask in Discord.